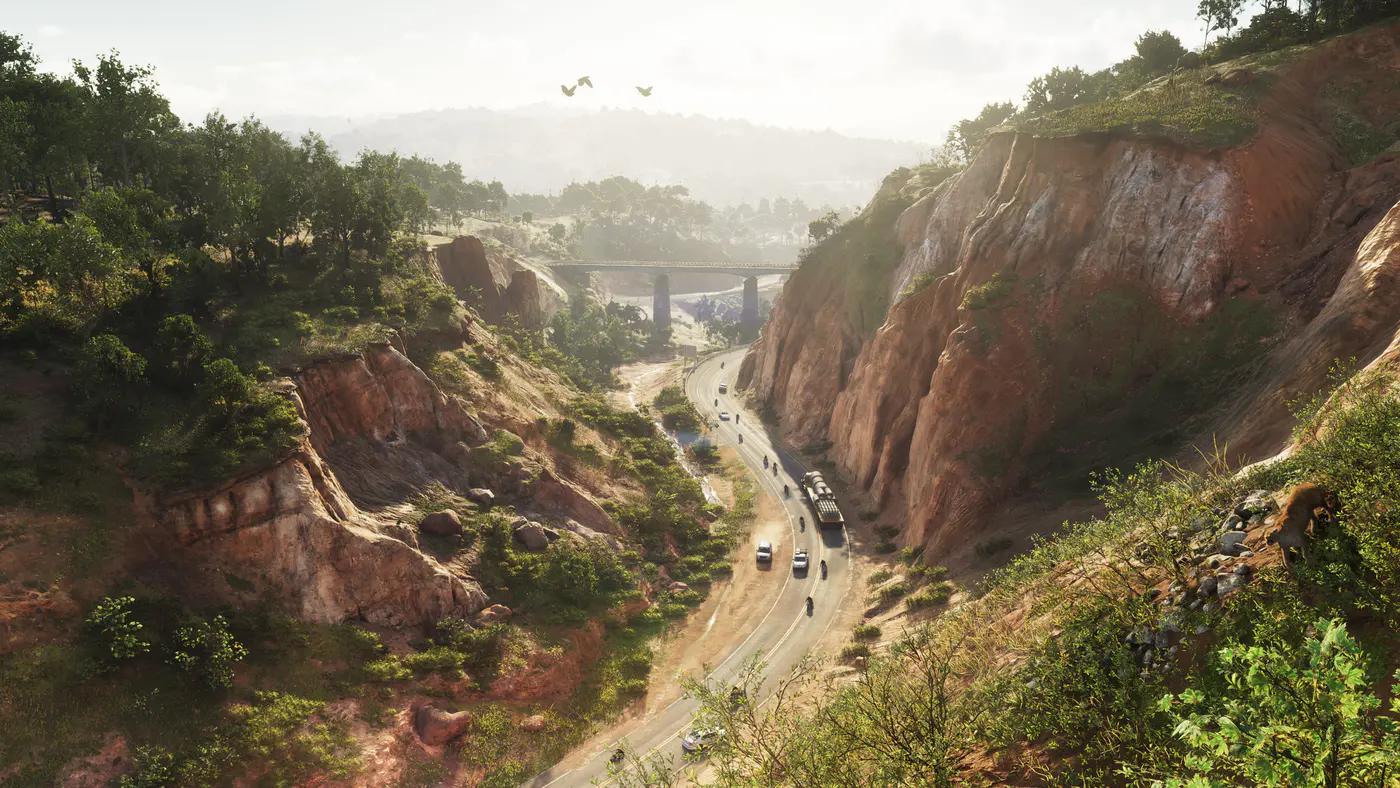
Open Photo Studio
How to open Photo Studio on PS5 and Xbox
Pause GTA 6 at the moment you want to photograph. Choose Photo Studio from the pause menu, or use the shortcut there. Press Square on PS5 or X on Xbox. Free roam is a good place to learn the controls because cutscenes may lock some settings.
If a setting says Currently Unavailable during a scene, take the shot with the controls the game offers or try the same idea again in free roam. Set your time of day and weather by choosing the right moment in the world before opening the studio.
Compose a photo
Set the framing, depth of field and light
Compose the shot before you pick a filter. Center the subject or leave space around it to show the setting. Then adjust depth of field so the subject stays sharp. Look at the foreground and background before saving. Both can look different after a focus adjustment.
- Car portrait. Park where the backdrop is clear, frame the car and use depth of field to soften a busy street behind it.
- Scenery shot. Keep more of the frame in focus when you want both a nearby landmark and a distant skyline to read clearly.
- Night shot. Try raising the intensity of one studio light or changing its hue before adding a filter. Check that the existing neon and shadows still look the way you want.
Save and find your image
Save the shot and open your console’s capture library
Hold the confirm button shown in Photo Studio to save the picture. Then check the console library for the new image. The game can save a Studio shot while you are still in the editor, so use the explicit save action before leaving the menu.
- PS5. Open Media Gallery from your games home screen and look under Grand Theft Auto VI. For the latest shot, also check the Recently Created card.
- Xbox Series X|S. Open My games & apps → See all → Apps → Captures. Look for the newest GTA VI screenshot.
- If a shot is missing, take a quick test picture using the hold-to-save prompt and check the console library again. This helps you tell a save issue from looking in the wrong gallery.
In-game photography
Use the phone camera for a selfie and Snapmatic for locations
For a photo from the character’s perspective, press Up on the D-pad in free roam and choose the phone’s Camera icon. Press the right stick to switch between the rear and selfie views. Choose that tool when the shot is about what Jason or Lucia is seeing.
Snapmatic is a separate phone feed of in-world posts. A post can point you to a place on the map. After following it in the world, open Photo Studio if you want to make and save an edited screenshot of the location.
Keep your pictures
Back up the shots you want to keep
On PS5, plug in a USB drive to keep a separate copy of a capture. Open the screenshot in Media Gallery, select More and choose Copy to USB Drive. You can also enable capture upload in PlayStation App and look in Library → Captures. Sony says eligible captures are available there for 14 days after creation.
On Xbox, use the Captures app to back up screenshots to OneDrive or an external drive. If an image is missing from your phone or backup, first check that it appears in the capture library on the console.